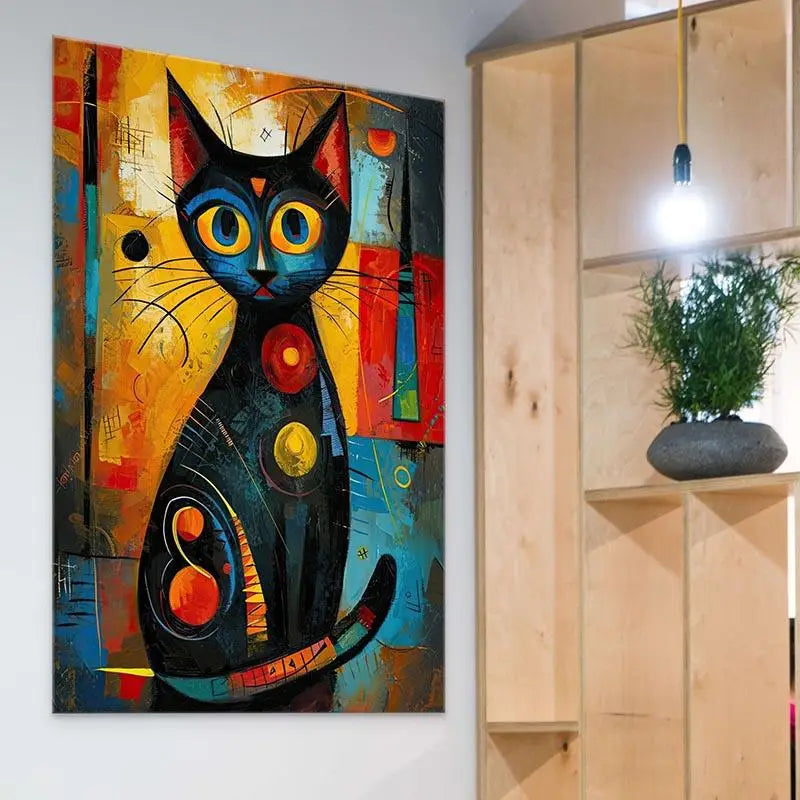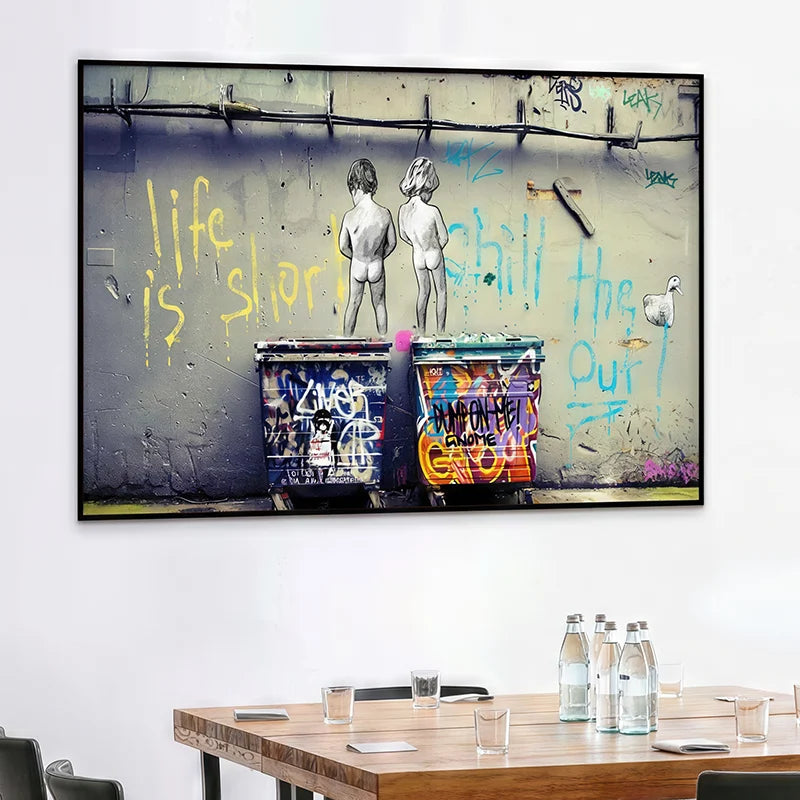

How to hang wall art with a string? Method, tips and fixings
Hanging wall art with a string is a simple and discreet method to hang a frame on the wall. The string or cord attached to the back helps distribute the tension between two attachment points and makes positioning the wall art easier.
But not all strings are not suitable for all wall art. The choice of cord, the strength of the fasteners, the weight of the frame and above all the nature of the wall must be taken into account.
Here is how to properly hang wall art with a string while achieving a result clean, stable, and harmonious.

Attach two strong fasteners on the back sides of the frame, connect them with a cord leaving a little slack, then hang the center of this cord on a hook, a screw or a hanging system suited to the weight of the wall art and the type of wall.
Why hang wall art with a string?
The string or cord hanging system is particularly common on light and medium-weight frames. It has several advantages.
Simple installation
Once the two fasteners are installed on the back of the frame, the wall art can be hung on a single wall point.
Easy adjustment
The cord allows you to slightly move the wall art to the left or to the right to restore it to level.
Discreet mounting
When the length is properly adjusted, the string disappears completely behind the wall art.
Versatile solution
It is suitable for many frames, framed posters and decorative wall art, provided you respect their weight limit.
for heavy or large-format wall art, a simple decorative string is not necessarily suitable. Then choose a wire or hanging cord specifically designed for framing and use fasteners that clearly indicate the load they can support.
Which string should you choose to hang wall art?
The strength must be the first criterion. The cord must be able to support the weight of the frame with a sufficient safety margin.
Decoration comes only afterward. A pretty string serves no purpose if it is likely to break once the wall art is installed.
| Type | Use | Tip |
|---|---|---|
| Frame hanging cord | Light to medium frames | The preferred solution when it has a stated maximum load. |
| Coated metal wire | Heavier frames according to its specifications | Strong and discreet behind the frame. |
| Reinforced synthetic cord | Small and medium frames | Choose a wear-resistant model. |
| Decorative jute, hemp, or cotton | Very light small frames or visible hanging | Best used mainly for aesthetic effect. |
if the string remains hidden behind the wall art, choose strength over appearance. If it is intentionally visible, hemp, jute or a textile cord can create a beautiful natural effect, but only for objects that are light enough.
What materials do you need to hang wall art with string?
For the wall art
- Two rings or frame fasteners.
- A hanging cord or wire.
- Two screws suitable for the frame.
- A screwdriver.
- A tape measure.
For the wall
- A hook, screw, or hanging system.
- A suitable wall plug if needed.
- A pencil.
- A ruler.
- A spirit level.
The wall system should always be chosen depending on the type of wall: concrete, brick, plasterboard or another support.
How do you attach a string behind a wall art?
Lay the wall art face down on a protected surface
Place it on a clean blanket or a soft surface so as not to damage the front side of the wall art.
Mark the two attachment points
Place a fastener on each rear vertical upright of the frame, at the same height.
Avoid installing them too close to the top edge.
Screw the fasteners into the frame
Use genuine mechanical fasteners compatible with the frame material.
It is best to avoid to simply glue the string directly to the back of a wall art.
Attach the cord
Thread the cord through both rings and create a secure attachment at each end.
Leave a little slack
The string should not be fully stretched horizontally.
When pulled upward, it should form a shallow triangle.
Test the strength before installation
Gently lift the wall art by the cord and check that the fasteners do not move.
Nail, hook or screw: which fixing should you choose for the wall?
The string is only the connection between the wall art and the fixing point. True safety therefore depends also on the wall support.
Picture hook
Easy to use for lightweight frames, provided you follow the stated load by the manufacturer.
Screw + wall plug
Particularly reliable solution when the wall plug is chosen according to of the wall material.
Adhesive fixing
May be suitable for certain small frames, but only if the weight, the wall and the manufacturer’s recommendations allow it.
The type of wall is just as important. A fixing suitable for concrete will not necessarily be suitable for plasterboard, and vice versa.
How do you properly adjust the string and the height of the wall art?
A common mistake is leaving too much slack. The hanging point then sits very high behind the frame, which makes positioning less precise.
When you pull the cord upward, it generally should not reach the top edge of the wall art.
before drilling into the wall, pull the string upward as it will be once hung, then measure the distance between this highest point and the top of the frame. This will allow you to determine more precisely the position of the wall hook.
Once installed, use a spirit level to make the final adjustments. The wall art can generally be slightly moved on its cord to regain its balance.

Can you hang multiple pieces of wall art with a string?
Yes, but there are two approaches very different.
Each wall art has its own string
This is the solution the simplest and generally the safest.
Each wall art has its own system independent hanging system.
Common decorative hanging
For very small frames or photos, a visible cord can be installed as a decorative element.
The items are then hanging from this cord using small hooks.
For a composed gallery wall real wall art, it is generally best that each artwork has its own hanging system.
How to hang wall art with a string without drilling into the wall?
Adhesive systems can be a good option for small frames when you do not want to making a hole.
You can use, in particular, adhesive hooks or strips specially designed to hang frames.
But the load capacity must be checked carefully.
Its effectiveness depends on the weight of the frame, the type of wall paint, the texture of the surface, humidity and the manufacturer’s recommendations.
Mistakes to avoid when hanging wall art with a string
Using a string that is too fragile
A simple decorative string can wear out or break under the weight.
Gluing the string directly
For a lasting hanging solution, choose mechanical fasteners instead securely attached to the frame.
Leaving too much slack
The frame then becomes harder to position and the cord may show above the wall art.
Overlooking the total weight
You need to take into account the weight of the wall art but also the weight of its frame.
Choosing the wrong wall mounting
The wrong wall plug can be more dangerous than a poorly chosen string.
Not testing before letting go of the wall art
Hold the frame a few seconds and check its stability before fully letting go.
All that’s left is to choose the wall art to hang
Now that you know how to hang properly a piece of wall art, all that’s left is to find the artwork that will bring character to your wall.
An empty wall? Sometimes all it takes is a single piece of wall art.
Abstract, modern, Street Art or black and white: a well-chosen piece of art can completely change the perception of a room.
Choose your style, your finish and create an interior that truly reflects you.
Discover our decorative wall art View new arrivalsFAQ: hanging wall art with string
What string should you use to hang wall art?
For a lasting hanging solution, choose a cord or a wire specifically designed for framing and whose strength is compatible with the weight of the wall art.
How do you attach the string behind the wall art?
Install two rings or sturdy hangers on the back sides of the frame, then connect them with the cord leaving a little slack.
Should the string be taut?
No. It should retain a little slack. When pulled upward, it generally forms a shallow triangle.
Can you hang heavy wall art with string?
For a heavy frame, avoid decorative strings. Use a hanging system designed to support the relevant weight, with suitable hangers and wall fixings.
How do you hang wall art without drilling?
Some hooks or adhesive strips may be suitable for lightweight frames. Always follow the stated maximum load and check compatibility with your wall.
Can you glue a string directly behind a frame?
For a lasting hanging solution, it is best to use rings or hangers mechanically attached to the frame. Glue alone can lose its effectiveness over time.
How do you prevent hanging wall art from tilting?
Check that both hangers are positioned at the same height, then use a level and move the wall art along the cord until you achieve proper alignment.
At what height should you hang wall art?
The height depends on the furniture, the size of the wall art and the room. In a classic arrangement, the visual center of the artwork should remain comfortable to view from the room's main area.
Hanging wall art with string: simple, as long as you do it properly
Hanging with string or a cord remains a practical solution for many frames.
Success mainly depends on three elements: a strong enough cord, properly secured hangers and a suitable wall system.
Once your wall art is perfectly positioned, all that remains is than take a few steps back and enjoy your new decor.
Find my next wall art