
DIY: How to frame wall art yourself? Steps, materials, and tips
Framing wall art yourself is an excellent way to personalize your décor and give an artwork a more elegant finish. Contrary to what you might think, framing is not always reserved for professionals.
With the right tools, precise measurements and a little patience, you can make yourself a simple frame for a poster, a print or certain canvases.
Here are the main steps to know to make your project a success while avoiding the most common mistakes.

Not exactly. A poster, a reproduction or a recent decorative canvas can generally be framed easily. However, an original artwork, old, fragile or valuable is better handled by a professional framer.
What type of wall art do you want to frame?
Before buying a frame strip or cutting wood, identify the backing of your artwork. The framing method varies depending on whether it is a poster, a stretched canvas or a reproduction on rigid backing.
Poster or paper print
This is generally the backing the easiest to frame. You can use a classic frame with backing and transparent protection.
Stretched canvas on wooden frame
The canvas already has a rigid structure. It can be left unframed or installed in a floating frame for a more premium finish.
Artwork mounted on a panel
The weight of the backing becomes an important criterion. The fasteners must be suitable to ensure stability and safety.
What materials do you need to frame wall art yourself?
To make a simple frame, prepare your materials before you start. This prevents interruptions and significantly reduces measurement errors.
To make the frame
- Framing strips or battens.
- Miter saw or miter box.
- Tape measure.
- Square.
- Pencil.
- Fine-grit sandpaper.
- Suitable wood glue.
- Clamps or clamping strap.
For mounting
- Small metal brackets if needed.
- Suitable screws or nails.
- Frame fasteners.
- Hanging wire or wall fasteners.
- Wall plugs suited to your wall.
- Spirit level.
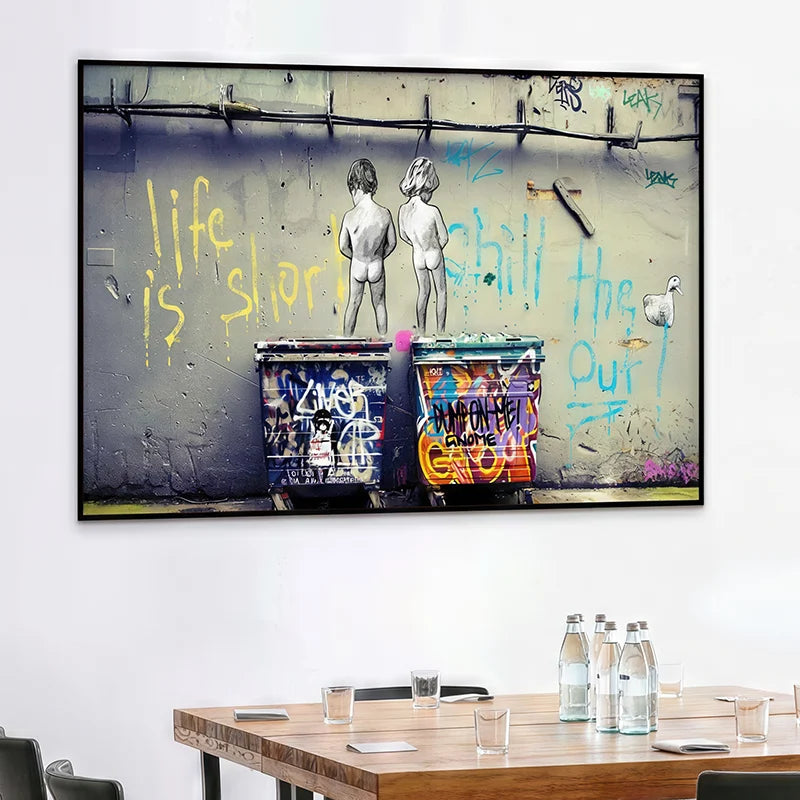
choose the frame based on of the artwork before thinking about the furniture. A thin black frame works especially well with contemporary art or Street Art, while a white frame adds more softness to a light-colored décor.
How to take the right measurements for your frame?
Precision is probably the most important step. A few millimeters of error can be enough to create an unbalanced frame.
Measure the artwork
Measure precisely the width and height of the wall art or poster. Take the measurement in several places if needed.
Determine the necessary clearance
A work of art does not necessarily have to be completely locked into its frame. Allow for a little clearance depending on the support and hanging system.
Calculate the length of the strips
If you are making 45° corners, take into account the width of the strip in your measurements.
Check twice before cutting
The classic DIY rule still holds perfectly true: measure twice, cut once.
How to assemble a wooden frame?
Once the measurements have been confirmed, you can cut the four strips. To create a classic frame, the corners are usually cut at 45 degrees.
Cut the four strips
Use a miter saw or a miter box to achieve the most even cuts possible.
Lightly sand the cuts
Remove the small wood fibers with fine sandpaper. The surfaces must be clean before gluing.
Assemble the corners
Apply a small amount of wood glue on each joint, then join the strips together.
Hold the frame
Use clamps or a clamping strap to keep all four corners perfectly positioned during drying.
Reinforce if necessary
Depending on the size and weight of the frame, you can add corner fasteners or small brackets on the back.
Follow the indicated time by the adhesive manufacturer. For large frames, the mechanical strength of the joints remains just as important as the glue.
How to customize your frame?
One of the great advantages of a frame you make yourself is the ability to choose exactly how it looks.
Black frame
Very contemporary, it enhances contrasts and works perfectly with modern wall art, abstract and Street Art pieces.
White frame
Visually lighter, it blends in easily in bedrooms, Scandinavian interiors and bright decor.
Natural wood
Ideal with landscapes, botanical artworks or bohemian interiors.
Colored finish
A color taken directly from the wall art can create a highly original result. However, use color sparingly so it does not steal the spotlight from the artwork.
You can then apply a paint suited to the material, then, if desired, a matte, satin, or glossy varnish.
How to secure wall art in its frame?
The method depends on the support. The essential principle is to hold the artwork properly without applying excessive pressure.
First center the wall art in the frame. Check the alignment before adding the hangers.
For a lightweight artwork, suitable frame hangers may be enough. For a heavier support, use a system sized for its weight.
Avoid gluing directly an original painting, an old artwork or a valuable print on the back of the frame. A reversible mounting is always preferable.
How to frame a stretched canvas on a stretcher frame?
A stretched canvas does not necessarily need an outer frame. The stretcher frame can be hung directly on the wall.
But to achieve a more sophisticated look, you can use a floating frame, also sometimes called American frame.
No frame
The canvas remains minimalist and retains all its visual impact. It is particularly well suited for modern interiors.
Black floating frame
The space left between the canvas and the frame creates a sense of depth and a look close to of a contemporary gallery.
White floating frame
This finish preserves the premium effect of the floating frame while giving a softer, brighter result.
Carefully check the thickness
Before making or buying the frame, also measure the thickness of the stretcher frame to choose a suitable depth.
How to frame a poster?
For a poster, the method is different than the one used for a canvas.
You will generally need of a frame made up of:
- an outer molding;
- a rigid backing;
- transparent protection depending on the desired finish;
- back hangers;
- possibly a mat.
The mat allows to create visual space between the poster and the frame. It immediately brings a more editorial finish and closer to an exhibition look.
How to hang framed wall art on the wall?
Before drilling, check the type of wall and the total weight of the wall art with its frame.
| Element | To check |
|---|---|
| Weight | The hanging system must easily support the total weight. |
| Wall | Concrete, brick, plasterboard, or another surface require different fixings. |
| Levelness | Use a level to keep the wall art from tilting. |
| Two attachment points | They can improve the stability of a large frame. |
| Location | Check the available space and the relationship with the furniture. |
If in doubt about the wall’s strength or about the load capacity of the fixings, ask a professional for advice.
Mistakes to avoid when framing wall art yourself
Measuring too quickly
A difference of a few millimeters can be enough to prevent the corners from closing properly.
Choosing a frame that is too imposing
The frame should enhance the artwork and not become the main element.
Using a fixing that is too weak
The weight of the frame is added to that of the wall art. The wall mounting system must therefore support the whole piece.
Framing a fragile artwork without precautions
For an original artwork or valuable, it is better to avoid permanent adhesives and ask a framer for advice.
Find the perfect wall art for your next framing project
You now have all the basics to create a frame suited to your decor. All that’s left is to find the artwork that will take its place inside.
Don’t feel like making your frame yourself?
At Montableaudeco, several creations are available in different finishes: poster, stretched canvas, black floating frame, white floating frame and Plexiglass.
You can therefore choose directly the look that matches to your decor without having to do the framing yourself.
Discover our wall art See what’s newFAQ: how to frame wall art yourself?
Is it difficult to make a frame yourself?
A simple frame is manageable provided you take precise measurements and having the right tools. 45° angles generally constitute are the part that requires the most precision.
What wood should you choose to make a frame?
You can use different wood species depending on the desired look. Straight wood, dry and sufficiently stable will make assembly easier.
Should you put a frame around a stretched canvas?
No. A canvas on a stretcher frame can perfectly be hung without an outer frame. A floating frame can however give a more premium look.
Which frame should you choose for modern wall art?
A thin black frame or a black floating frame works very well with modern art, abstract art and Street Art. For a bright interior, white offers a result lighter.
How to frame a poster?
Use a frame suited to the poster’s dimensions, with a rigid backing and possibly transparent protection and a mat board.
Can you glue an artwork directly into a frame?
For a recent decorative poster, certain techniques are possible. For an original artwork or valuable, avoid permanent adhesives and choose reversible fixing methods.
How to prevent a frame from tilting?
Check the balance of the wire or rear fasteners. On large formats, two fixing points can significantly improve stability.
What frame color should you choose?
Black adds contrast and a modern look, white is more understated and bright, while natural wood adds more warmth. The choice mainly depends the wall art and the room’s decor.
Framing wall art yourself: a finish that changes everything
Making your own frame above all requires precision, patience and good preparation.
Start by identifying the support for your artwork, take reliable measurements, choose suitable mouldings and always choose fastenings that are sturdy enough.
And if you prefer a result that is instantly ready to decorate, you can also choose your wall art directly with the finish that matches to your interior.
Find my next wall art