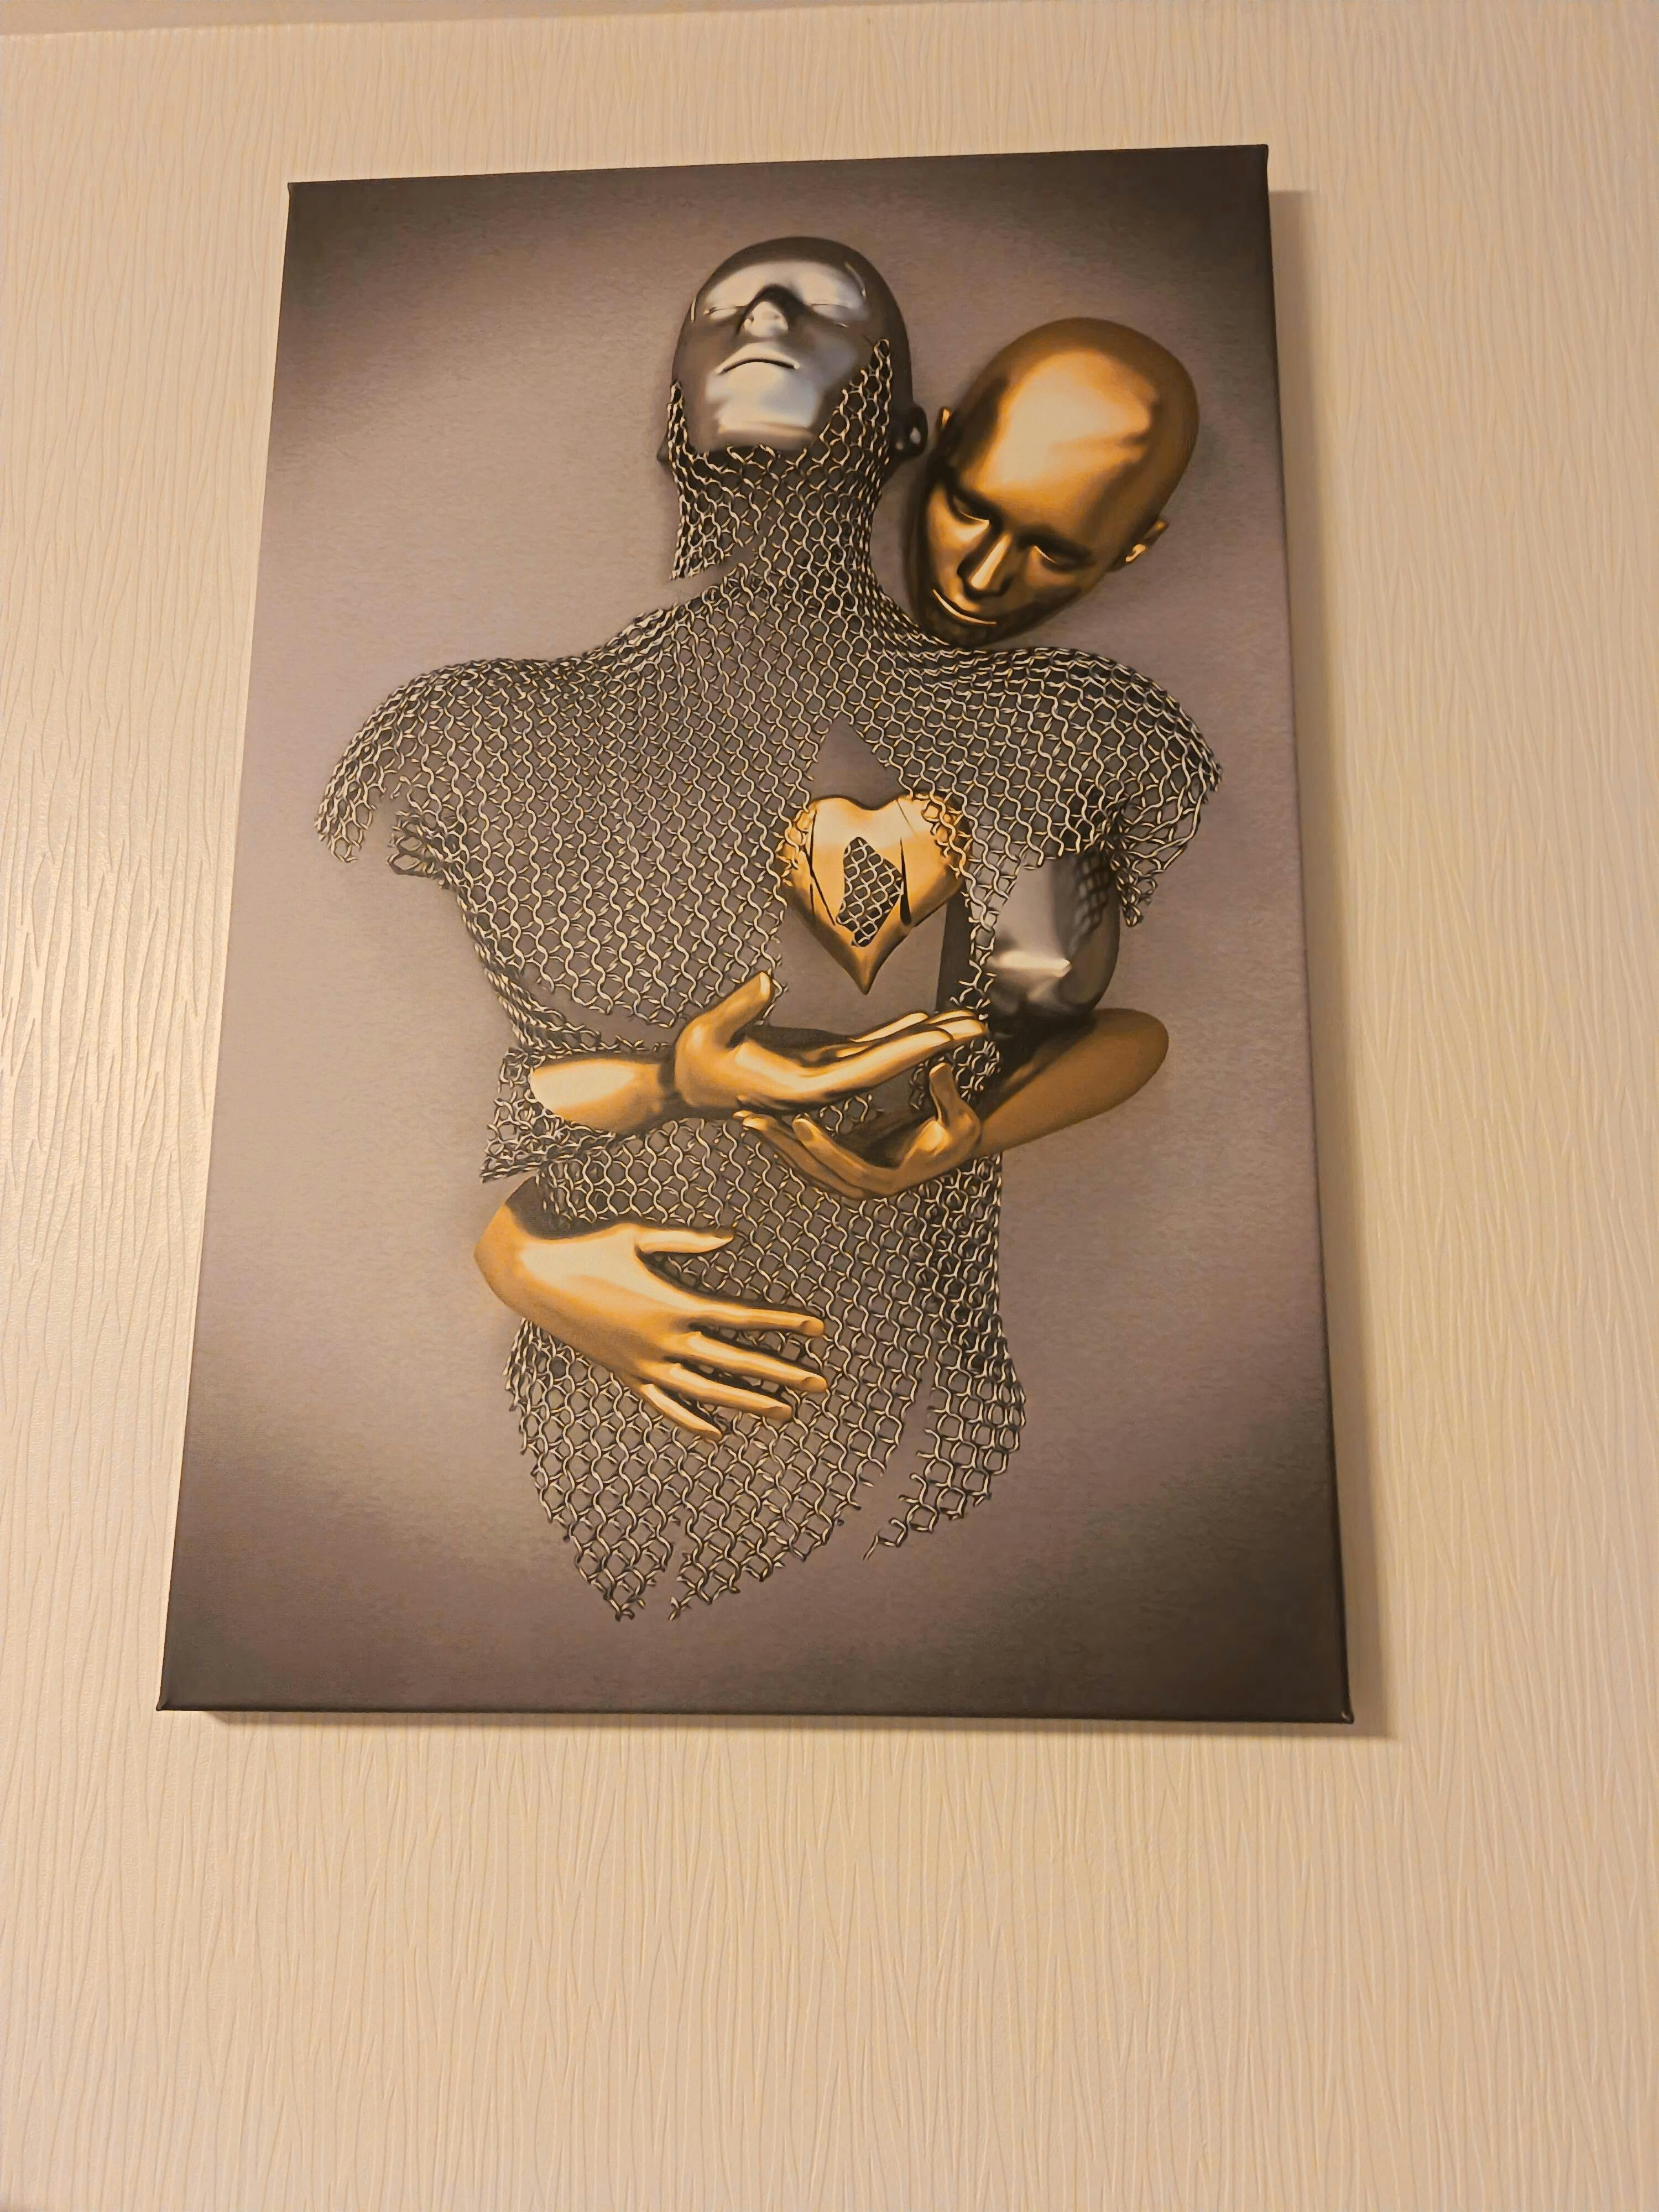
Hanging a picture using string: how does it work?
You want to hang a picture, but you have no idea how to do it. You want it to stay firmly in place and be stable. In this case, it is best to hang it using string. Find out how to do it here.
If you want to hang a picture using string, the first thing to do is to attach two fasteners to the frame. Next, cut a length of string with a little slack. This slack is what you will thread through the notches. Finally, place one of the notches, such as a nail or screw, on the wall, then hang the string.

In fact, the wall art is part of a decorative scheme. That being said, you need to hang it correctly to achieve a flawless result. However, this task is not necessarily easy, especially for those who are not used to DIY. But don't worry, because there is a solution for you. Below, you will learn the perfect techniques for hanging your wall art through tips on:
- the most suitable types of string;
- the process to follow;
- the techniques to use.
Once you have read this document, it will be easy for you to hang a picture using string. Here you will find solutions to all your concerns.
- Types of strings for hanging a picture
Many people believe that they can hang a picture using any type of string. This is, of course, incorrect! To ensure that the picture remains static and securely fixed as it should be, you need to choose a string that meets specific criteria.
In fact, the first important criterion is the strength of the string. It must be strong enough to hold the wall art in place. Otherwise, it may fall and be damaged. Choose a string that is properly made and strong. The strength of the string you choose depends on the weight of the wall art.
You should also choose a string that is UV-resistant. You will see strings that are damaged by sunlight. These become less strong. The problem is that you may install your board next to windows and doors, where the string is exposed to UV rays. Keep this important detail in mind. In addition, choose a string that is fairly waterproof, as water droplets may run down the wall and come into contact with the string.
The second criterion for selecting twine is the material it is made of. You will certainly see various types of twine, and almost all of them are suitable for the purpose. In any case, the most suitable types of twine are:
- hemp cords;
- sisal cords;
- cotton cords;
- jute cords;
- silver or gold cords.
However, you can also choose synthetic cords if you find them strong and durable.
The third and final criterion is just as important: aesthetics. Since you’re hanging the artwork for decorative purposes, the overall look should feel beautiful—including the string. Choose colorful cords, or silver- or gold-toned string to give your wall art a more luxurious finish. And if you want to add a unique touch, go for a multicolored string or one with a rainbow effect.

- Step-by-Step Process for Hanging Wall Art Using a String
Now you have the right string for your wall art—time to get started. There are two possible situations: the artwork may have one or more hanging points, or it may have none at all.
When the artwork already has hanging points, it’s much easier to mount. Start by cutting your string to size: measure the distance between the hanging points, then consider the distance to your wall hanger (nail, screw, hook, etc.). Add a few extra centimeters so the string isn’t overly tight.
Next, attach the string to each fixing point, one side at a time. Make sure the string forms a triangle shape, then hang the artwork on the wall using the top point of that triangle.
But if the artwork doesn’t have hanging points, you’ll need to attach the string in a different way. You can add a fixing point at each end of the frame by using two small rings or two closed triangle-shaped hooks. Secure them with a strong adhesive, then thread the string through.
Another option is to attach the string directly to the back of the artwork with strong glue. Remember to keep a triangular shape so the artwork sits properly on the wall hook. The strength of the adhesive is essential—it helps the string stay secure and prevents it from coming loose.
You may also decide to hang several pieces on a single string. In that case, use a slightly thicker string and a longer length. Install a wall hook and secure each end of the string to it. For a truly flawless look, hang two or three strings in parallel. Try to adjust the tension so the strings are neither too tight nor too loose.
- How to Hang Wall Art Using a String: Step-by-Step Guide
All you need to do now is hang the artwork using the string—or directly on the string. Below, you’ll find a video by Gwenn that clearly explains each step to follow for hanging a wall art piece properly.
If you want to hang wall art, you’ll need a proper hanging system. Luckily, you have several options to choose from.
Traditionally, you use a nail—often recommended when the wall art is heavy. Because it’s very strong, it can handle higher loads. To do this, you’ll need to make a hole in the wall. Tap the nail in with a hammer until it’s secure. Make sure the nail doesn’t go all the way into the wall, otherwise you won’t have anything left to hang the artwork on.
If you want an even more secure installation, angle the nail at 45° toward the ceiling to improve stability. Then simply place the back string onto the nail.
For a more secure, long-lasting result, you can choose a screw instead of a nail. It’s installed almost the same way, with one small difference: instead of using a hammer, you’ll use a drill. After drilling into the wall, insert a wall plug into the hole before adding the screw. Partially screw it in and make sure it’s firmly anchored. Then hang the artwork by placing the back string onto the screw.
You can also use a hook as a hanging system for both the string and the artwork. The great thing about a hook is that it’s sturdy and provides a secure place to attach the string, making installation quick and easy. If you want to avoid drilling into the wall, choose adhesive hooks instead and attach them using strong sticky strips.
What’s more, there are other simple ways to hang your wall art without drilling into the wall. Feel free to try them as supports for the string and the artwork.
If you prefer, you can use a self-adhesive wall hook. It works much like a standard hook, except it can hold more than one piece. It also looks nicer and comes in a variety of designs. This option lets you hang multiple artworks on strings. Strong adhesive is essential for this method: apply it to the end of the string at the top corner, and also to the wall, then press and secure everything firmly.
That said, this technique is best suited to small wall art and lightweight frames. It’s also not very durable—after a few months, the adhesive can weaken, causing the artwork to fall and potentially get damaged. Think of it as a short-term solution, while you plan a more reliable, long-lasting hanging method.
In the end, if you want to hang several pieces on a single string, simply attach them one after the other. Use small hooks or rings that the string can pass through. Then secure the end of the string to the hook fixed to the wall. It’s the perfect technique for showcasing photo frames or portrait prints.

Now hang up your wall art!
Make your home interior more inviting by hanging wall art that instantly brightens your space. This article has shown you several professional techniques for hanging a picture using a string, like a pro. Now that you have a solid understanding of how to hang wall art properly, you’ll be able to do it flawlessly when the time comes. Go for it—and enjoy the result. As an expert, it’s time to take action.